

Bread Fruit Baskets (Fun recipe for Easter)
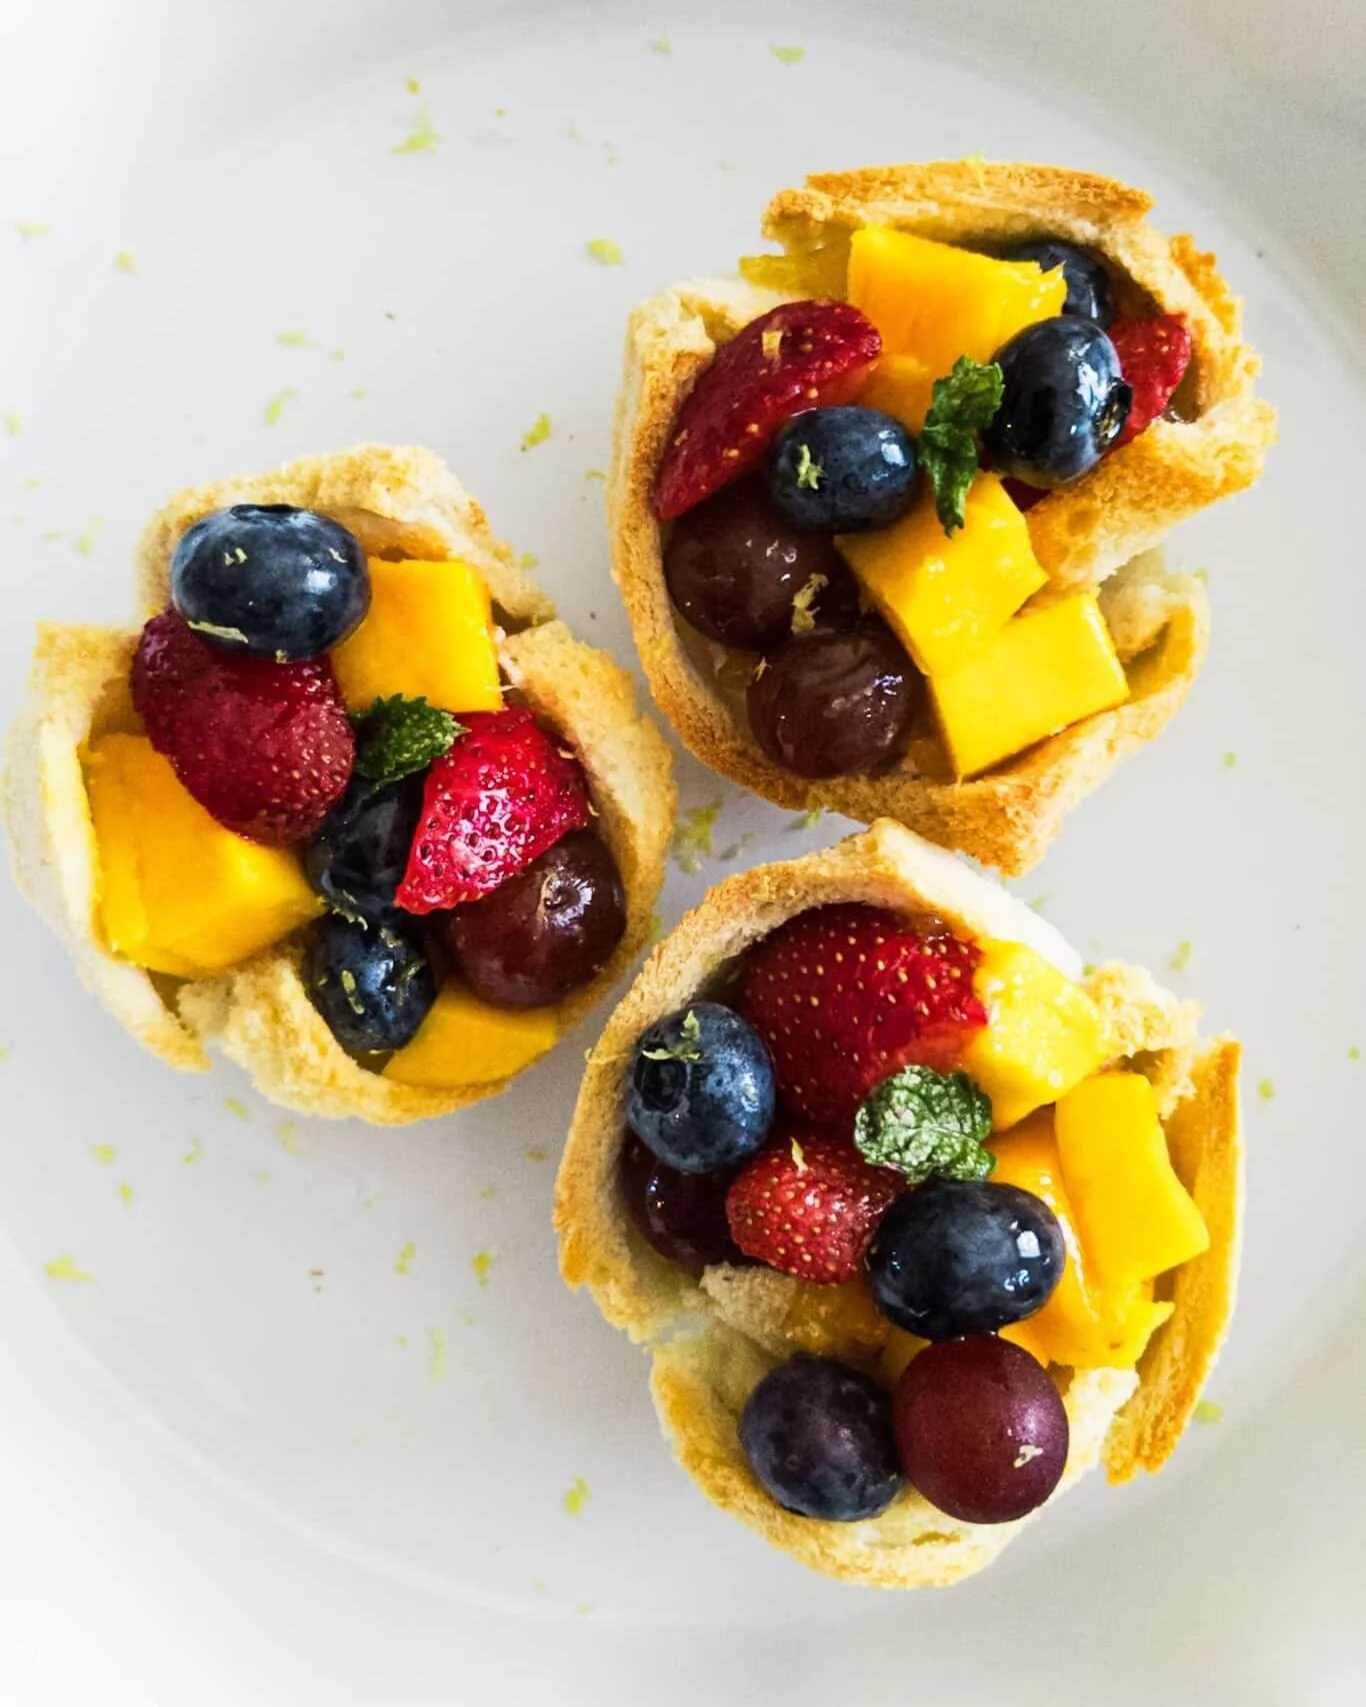
The first time I made these dainty little fruit baskets in class, it was for Easter. I wanted to make something striking & special, decadent yet light, and definitely not chocolate or candy. An edible basket with seasonal fruits layered with sweet fruit preserves on a bed of ricotta, a drizzle of honey and a sprinkle of lemon zest seemed perfect.
The kids were super excited to construct their show-stopper dish.Some were very precise about adding and layering the ingredients as demonstrated. Some others made a volcano with fruit lava. One could clearly recognise the more artistically inclined as they neatly arranged (and rearranged) the fruit in their baskets. Each little basket was unique, just like the kids themselves, and they took so much pride in making it and showing it off to their friends before they gobbled it up in a few quick bites.


The simple fruit baskets turn out looking so festive and celebratory that this can easily become a special for mother’s day brunch or grace the family holiday table as your child’s contribution. Make it for 4th of july with just blueberries and strawberries or for Christmas with many colors of citrus, candied pecans and cranberries. Now I’m just getting carried away with ideas for my cooking class with the kiddos. Make it anytime for breakfast or dessert, it only takes a few minutes! :-)
If you decide to make this quick dish, you will not be disappointed. Treat it as an art project and you will be rewarded with dessert!
Bread Fruit Baskets
You will need:
Sliced Bread - 6 nos.
Ricotta Cheese - 6 - 8 tsp
Fruit preserves or jam 4-5 tsp (my favorite are apricot preserves or orange marmalade)
Choice of fruits - I have used grapes, blueberries, strawberries and mango.
Maple syrup or honey to drizzle
Lemon zest to garnish
Mint leaves to garnish (optional)
Nuts and raisins (optional)
Makes 6 fruit baskets


To make the basket:
Preheat the oven to 350F.
The baskets are made of sliced bread. Use any bread you like. Cut off the edges. Using a rolling pin, gently flatten the bread out. Do this with a light hand without applying too much pressure as you don’t want to tear the bread or make holes in it while rolling it out.
Use any neutral tasting oil or melted butter to brush one side of the bread.
Grease a regular sized muffin pan.
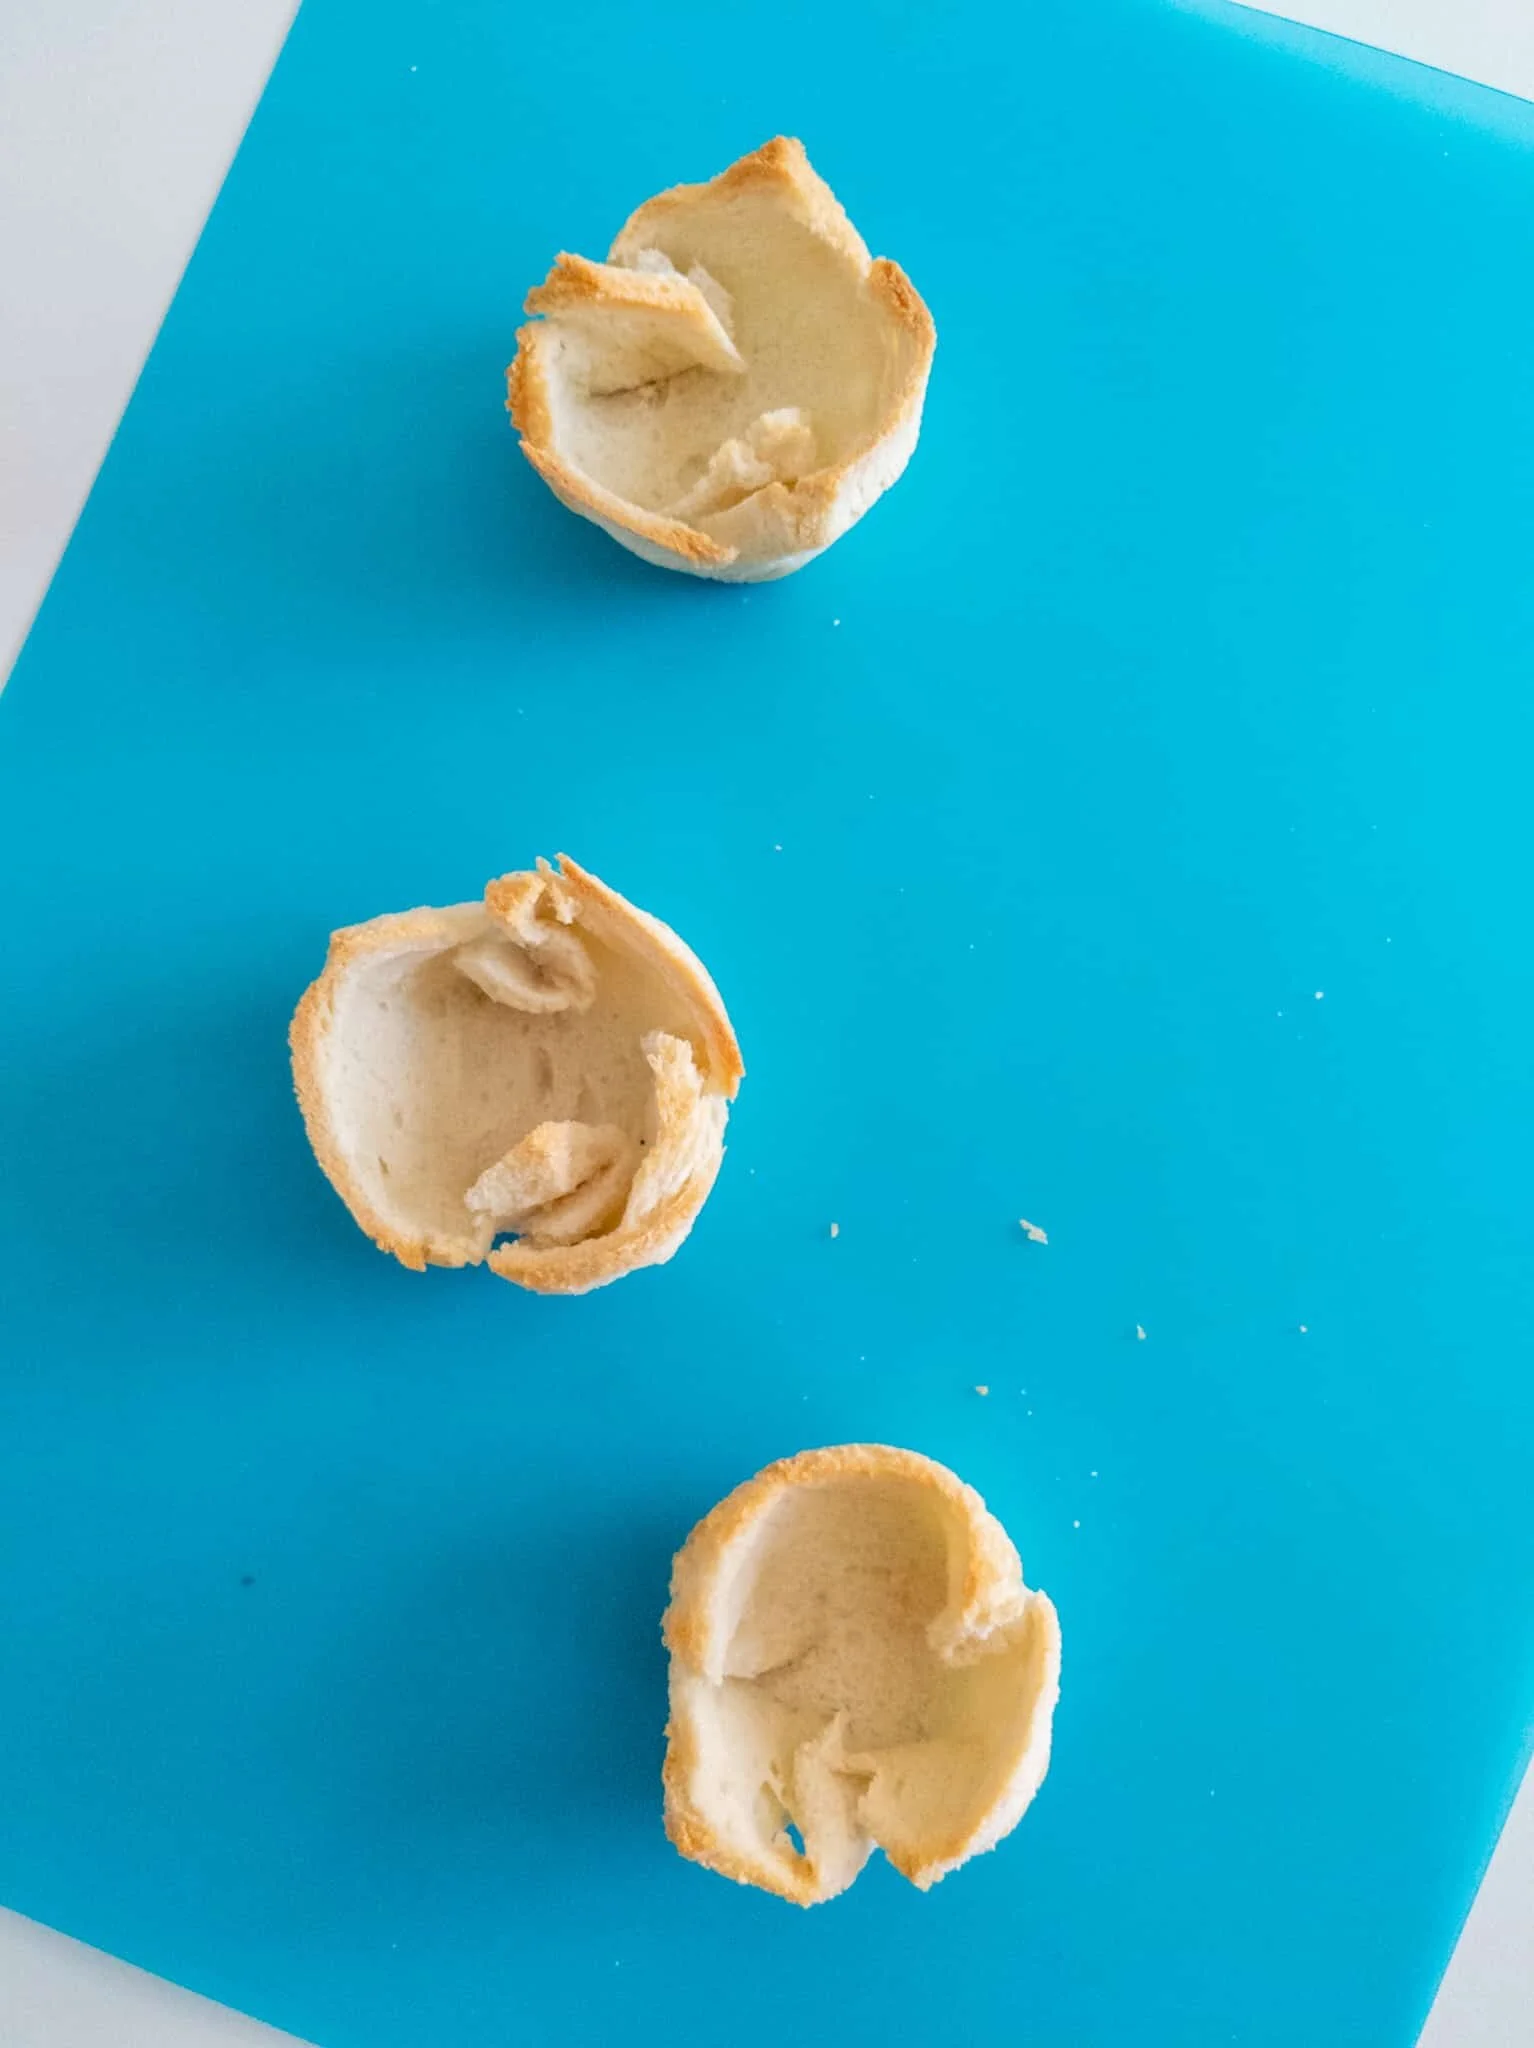
Gently fit the flattened bread slice into the muffin hole, pressing it on the bottom and pressing & pleating the sides to shape it into a cup. See pictures above. The buttered side goes on the inside. Repeat with the other bread slices.
Bake in the preheated oven for 15 mins or until the bread is toasted.
Remove from the oven. The bread basket should easily lift off from the muffin tray. Remove and cool on a dry plate.
To assemble the bread baskets:
While the bread baskets are in the oven, prepare your fruits. Use at least 3-4 fruits of different colors and chop them up to be around the same size.
Spread a teaspoon of ricotta at the base of the bread basket.
Add a layer of fruit preserves. About half a teaspoon.
Top it up with fruits.
Drizzle a little bit of honey and a little sprinkle lemon zest on the fruits.
Garnish with a mint leaves.
Notes:
The baskets don’t have to be perfectly shaped. They will be stuffed to the point of not being seen. They only serve as a vehicle for the delicious filling. As long as they have a steady base without any holes, and even sides, you are good.
If your bread tears while flattening or shaping, definitely try patching it up with another little piece of bread before toasting it. The basket won’t be seen. It doesn’t have to be perfect. But you don’t want the filling dripping out from the base.
Keep an eye on the bread after 8-9 minutes and remove when toasted and able to hold it’s shape.

Don’t feel like making the baskets? Tastes great and looks gorgeous on grilled or toasted bread. :-)
Variations:
Just as there are infinite possibilities of sandwich stuffings between two slices of bread, there can be many sweet and savory variations to the bread basket.
Here are some ideas -
Mediterranean basket: chickpeas, cucumbers, onions, tomatoes, hummus/ tzatziki, harissa, feta
Pizza in a basket: pizza sauce, peppers, olives, cheese, basil, bake/broil in oven to melt cheese
Chaat basket: boiled potatoes, onions, tomatoes, chickpeas, yogurt, mint & tamarind chutneys, cumin & chaat masala
Breakfast basket: scrambled eggs, fried potatoes, ketchup, hot sauce, feta, chives
Want to continue the learning and family fun beyond the kitchen? Enter your email to download these FREE games and activities for kids.

Did you make this recipe? Please let me know how it turned out for you! Leave a comment below and share a picture on instagram and tag it with the hashtag #nibblengobble.